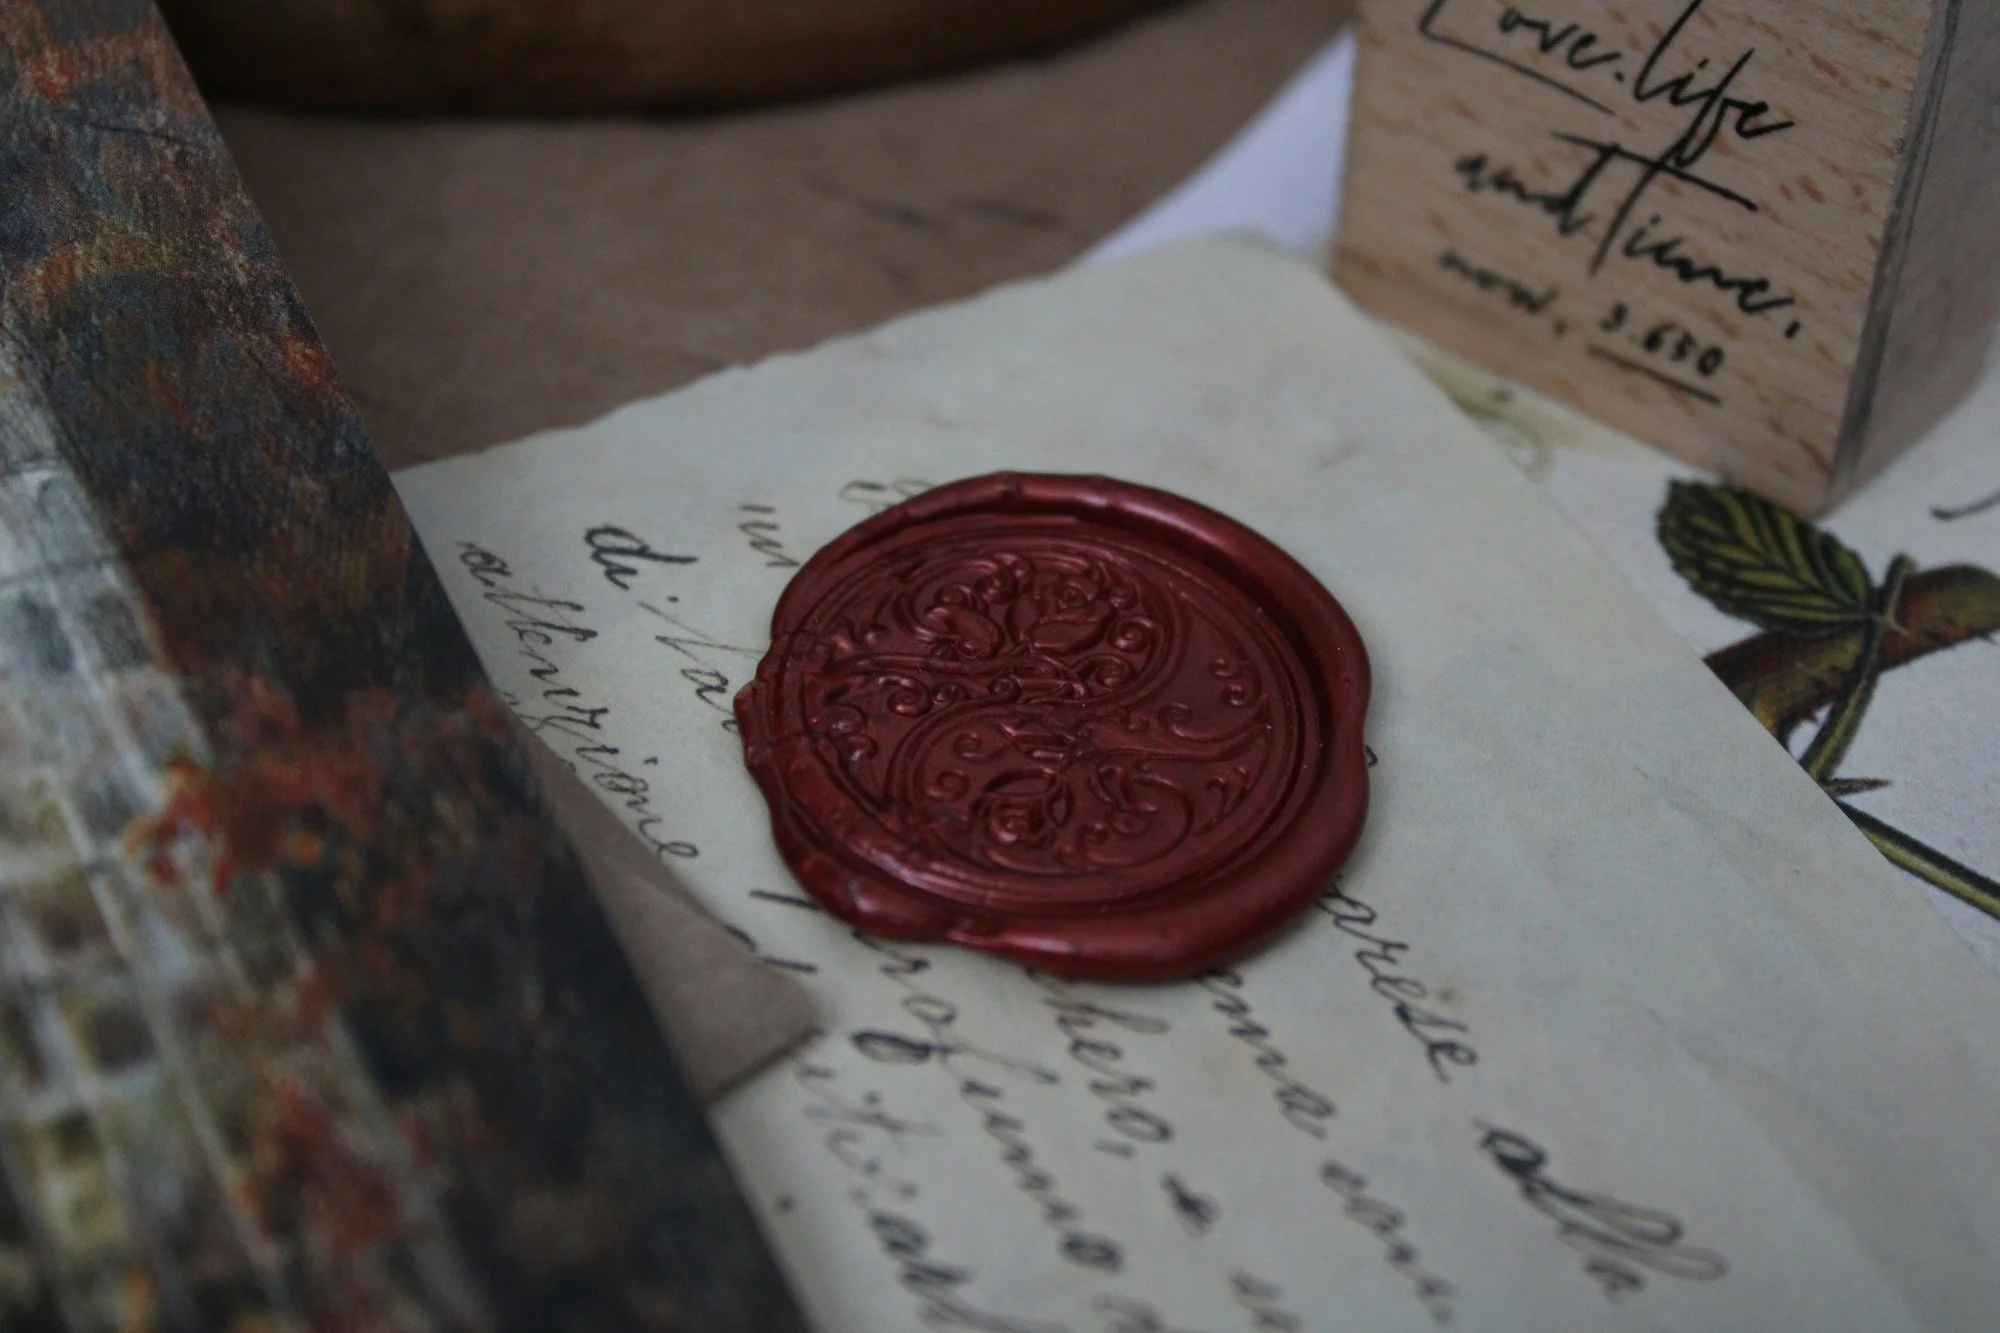
Few things make a letter feel as special as a wax seal. It takes a minute, costs very little and turns an ordinary envelope into something people keep. Wax seals have been used for centuries to close and authenticate letters, and today they are mostly decorative, but the moment of pressing the stamp into warm wax has lost none of its charm.
If you have never made one, it can look complicated. It is not. This guide explains the three main types of wax, how to make a clean seal step by step, what to do when it goes wrong and how to post sealed letters without losing the seal on the way.
This post contains affiliate links. As an Amazon Associate, I earn from qualifying purchases at no additional cost to you.
What you need
A seal stamp. A metal stamp head with a design or initial, usually with a wooden handle.
Wax. Traditional sticks, glue gun sticks or wax beads (see below).
A heat source. A lighter, a mini glue gun or a melting spoon with a tealight, depending on the wax.
A heat-resistant surface. A ceramic tile or a silicone mat protects your table.
Optional: an ice pack or a cold metal surface to cool the stamp between seals.
The three types of sealing wax
Traditional sealing wax sticks
Some traditional sticks have a wick and are lit like a candle, others are melted over a flame. The wax drips onto the envelope. They are the classic choice, but they take some practice, and the wax can contain soot from the flame.
Glue gun sealing wax
These sticks fit into a mini glue gun. You squeeze the trigger and the melted wax flows onto the paper. This is the easiest method for beginners and the best for making many seals at once, for example for wedding invitations or Christmas cards. Glue gun wax usually stays slightly flexible, which is an advantage when the letter goes through the post.
Wax beads
Small wax beads are melted in a metal spoon over a tealight and poured onto the envelope. They come in many colours that can be mixed, and you can control exactly how much wax you use. This method takes a bit longer but gives you the most creative freedom.
Wax and tools
60 Assorted Sealing Wax Sticks for Glue Gun
Sixty glue gun wax sticks in mixed colours, enough for many letters and cards.
View on Amazon(affiliate link)Mini Hot Glue Gun with 30 Glue Sticks
A small 20W glue gun that works well with glue gun sealing wax sticks.
View on Amazon(affiliate link)Candle Making Kit with Digital Wax Melting Pot
A digital melting pot that keeps wax at an even temperature, useful if you make many seals or your own candles.
View on Amazon(affiliate link)60 Vintage Wax Seal Stickers
Ready-made self-adhesive seals for days when you want the look without melting wax.
View on Amazon(affiliate link)
How to use a wax seal step by step
1. Prepare your space
Lay out the envelope, the stamp and the wax on a heat-resistant surface. Close the envelope first if you want the seal to hold it shut, or seal it with glue and use the wax as decoration.
2. Melt the wax
With a glue gun, let it heat up for a few minutes. With beads, fill the spoon with about five to eight beads and hold it over the tealight until the wax is completely liquid. With a stick, light the wick or warm the end over a flame.
3. Pour a pool of wax
Pour or squeeze the wax onto the envelope in a small circle, slightly larger than your stamp. Move in small circles to keep the pool round. The pool should be thick enough that the stamp can press into it.
4. Wait a few seconds
Give the wax five to ten seconds to cool slightly. If you press too early, the wax spreads too much. If you wait too long, the impression becomes shallow.
5. Press the stamp
Press the stamp straight down into the wax without twisting and hold it for about ten to twenty seconds, depending on the wax.
6. Lift the stamp
Lift the stamp carefully and straight up. If it sticks, wait a few more seconds. Let the seal cool completely before moving the envelope.
Tips for a clean seal
- Cool the stamp on an ice pack between seals so it does not stick
- Use more wax than you think for a deep, full impression
- Wipe the stamp head with a soft cloth to remove residue
- Practise on scrap paper before sealing a special letter
- Mix two colours of wax beads for a marbled effect
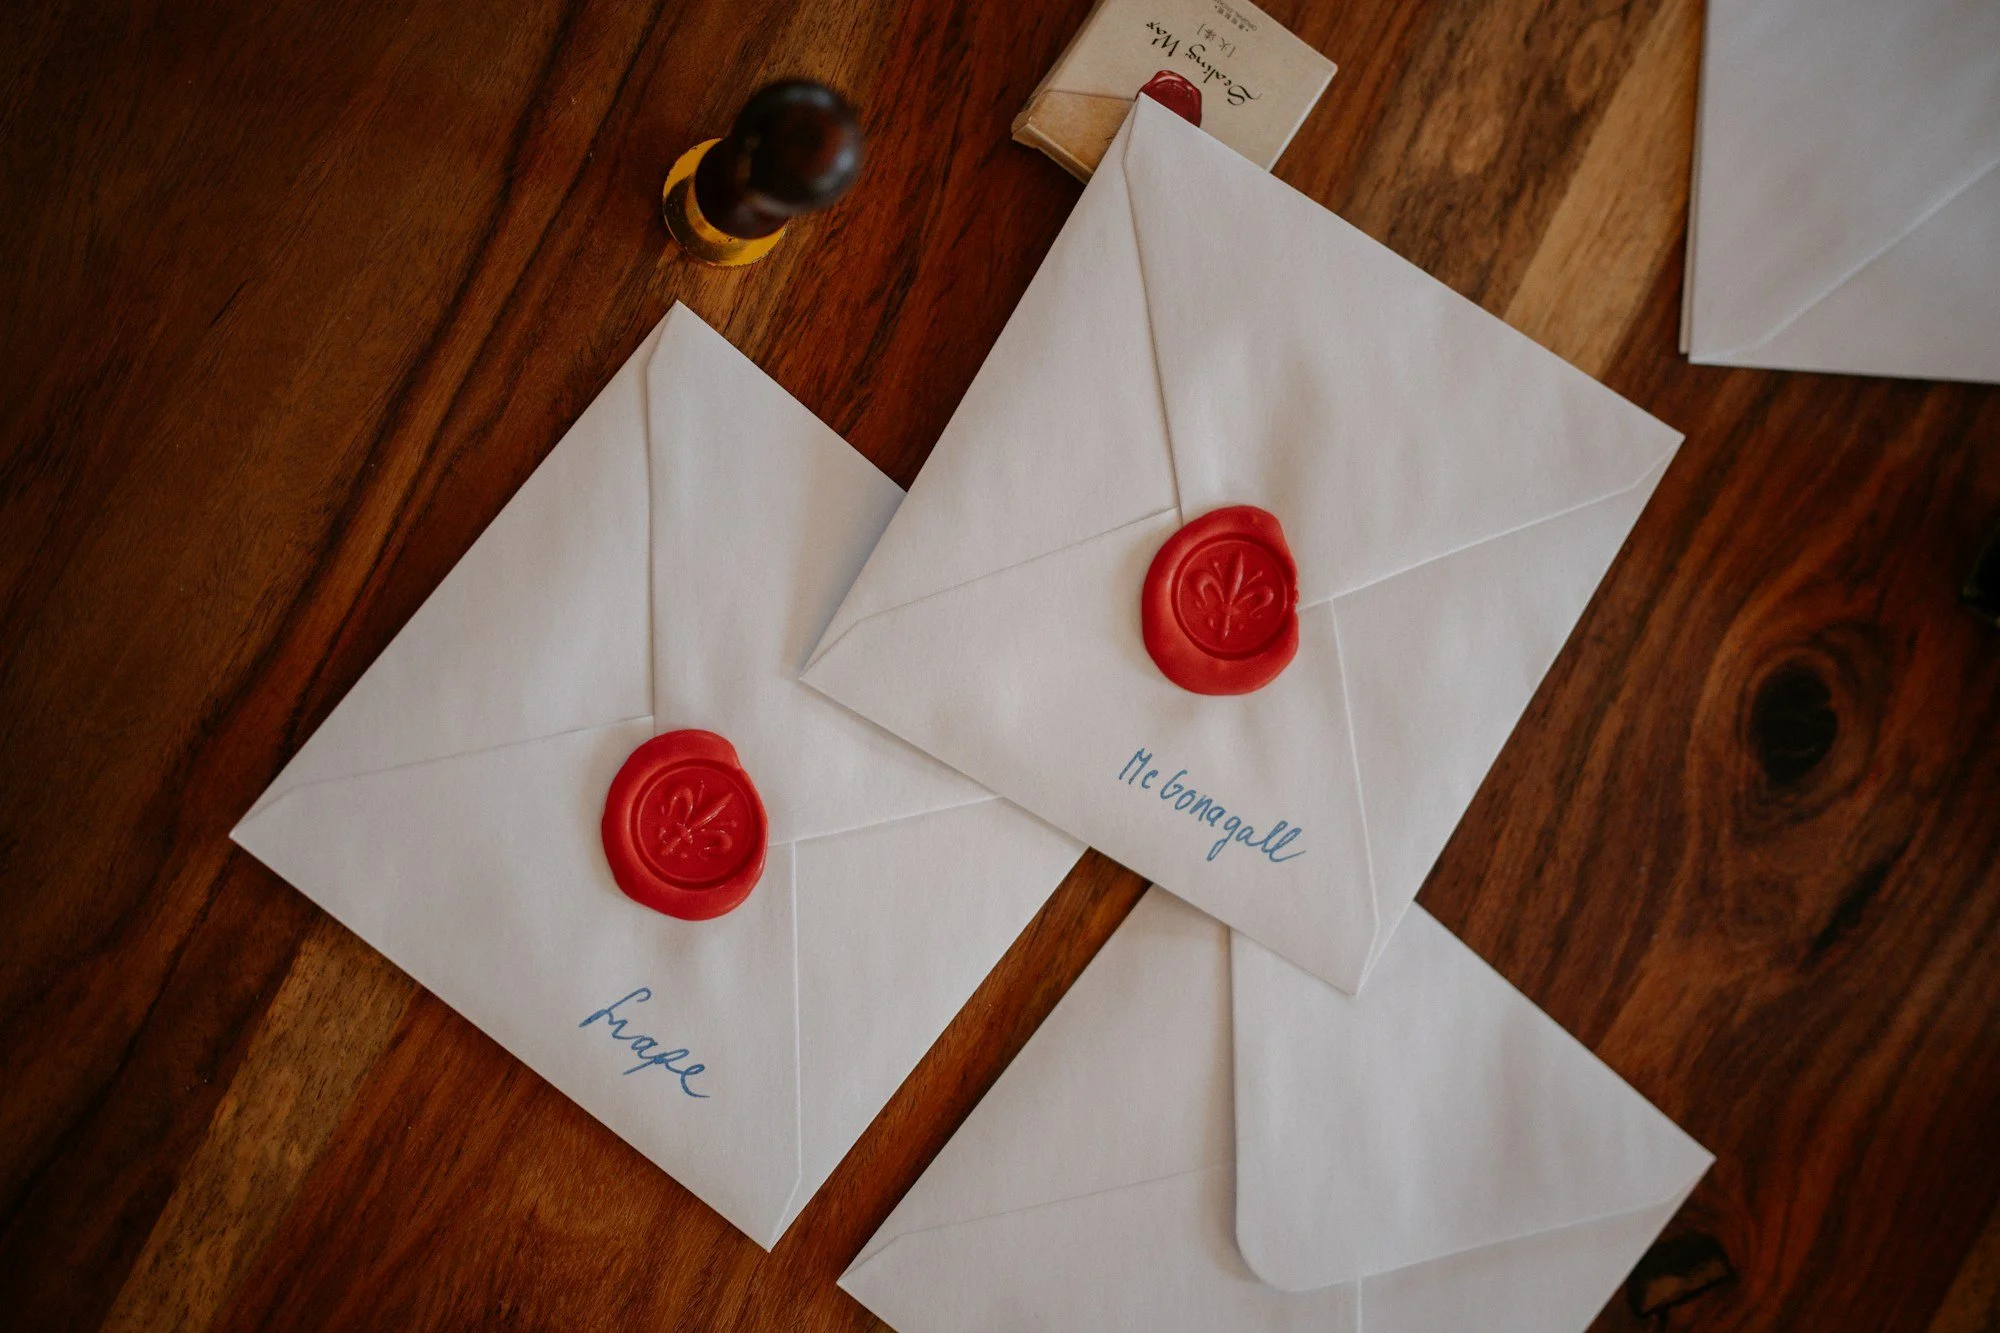
Common mistakes and how to fix them
The stamp sticks to the wax. The stamp is too warm or you lifted it too early. Cool it between seals and wait a few seconds longer.
The impression is shallow. You waited too long or used too little wax. Press sooner and pour a thicker pool.
The seal is not round. Pour in small circles and keep the glue gun or spoon close to the paper.
There are bubbles. The wax was too hot or stirred too much. Let it rest for a moment before pouring.
Soot marks in the wax. This happens with wick sticks held too close to the flame. Glue gun wax or beads avoid it.
If a seal goes wrong, let it cool and lift it off with a thin knife. You can melt the wax again.
Choosing a seal stamp
An initial is a timeless choice and works for every occasion. Botanical motifs, moons, hearts and seasonal designs are popular for cards and gifts. A stamp head with a diameter of about 25 to 30 millimetres suits most envelopes. Many sets include several interchangeable heads, which is practical if you want different designs for different occasions.
Seal stamp sets
Wax Seal Starter Kit
A complete set for beginners with stamp, wax and accessories.
View on Amazon(affiliate link)Flower Wax Seal Stamp Set
A set of floral stamp heads for letters and invitations.
View on Amazon(affiliate link)Christmas Wax Seal Stamp Kit
Festive designs for Christmas cards and gift tags.
View on Amazon(affiliate link)
How to post letters with a wax seal
Wax seals can break or come off in postal sorting machines. A few precautions help:
Use flexible glue gun wax, which survives the post better than brittle traditional wax.
Keep the seal flat and not too thick.
Glue the envelope closed and use the seal as decoration, so the letter stays closed even if the seal breaks.
For important or very decorated letters, put the sealed envelope into a second, plain envelope.
Envelopes with raised elements may count as non-standard in some countries and need extra postage. In the US, for example, rigid or lumpy envelopes can be classed as non-machinable. Check with your postal service if you are unsure.
Wax seals also look beautiful on things that are handed over in person: gift tags, place cards, invitations or a letter tucked into a present.
Where to use wax seals
Letters to pen pals and friends
Christmas cards and gift tags
Wedding and party invitations
Thank-you notes
Journal pages and scrapbooks
Tea bags, napkins or bundles of dried flowers tied with string
If you are writing to a pen pal for the first time, my guide to your first pen pal letter has everything you need, and my Christmas snail mail ideas show how to use wax seals in December. For a full overview of tools for letter writing, see my stationery essentials.
Practise three or four seals on scrap paper, then choose the first letter you want to seal this week.